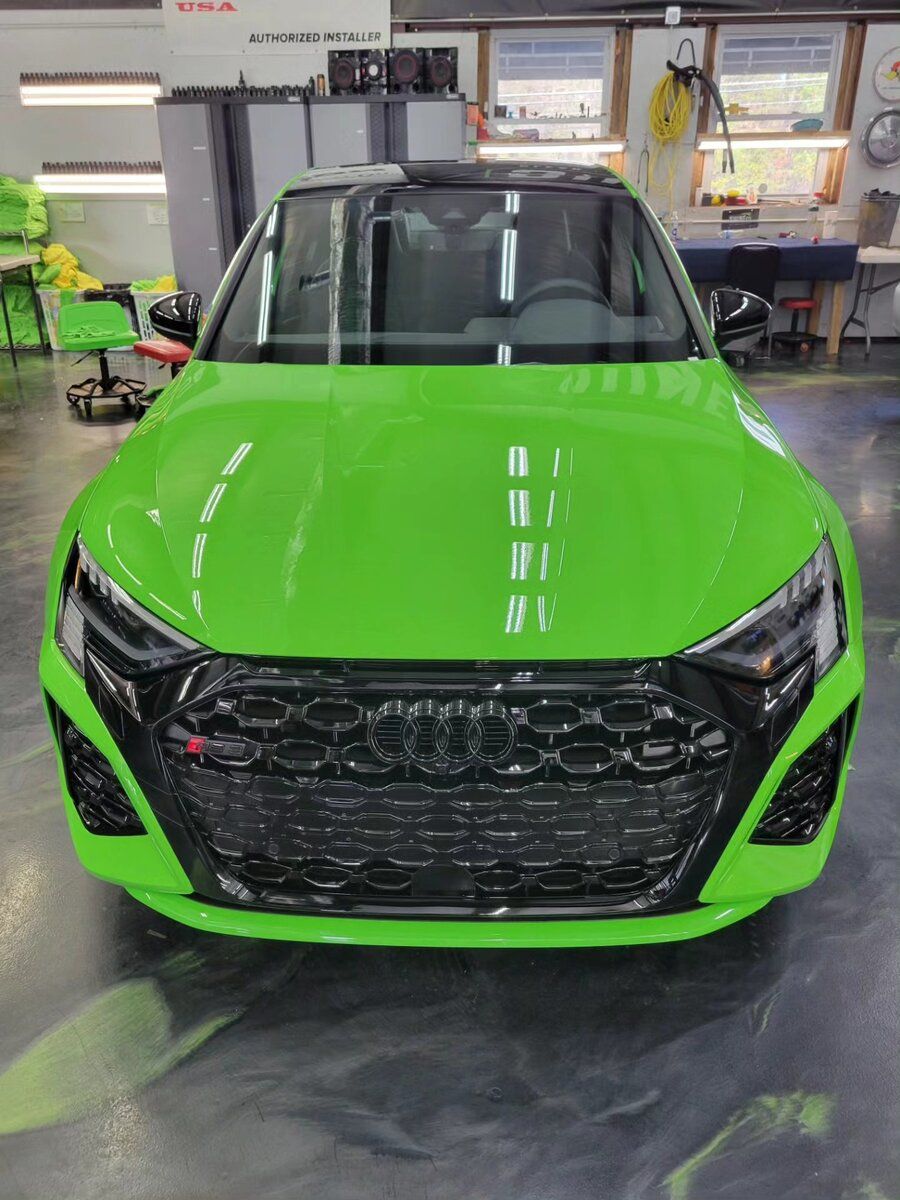
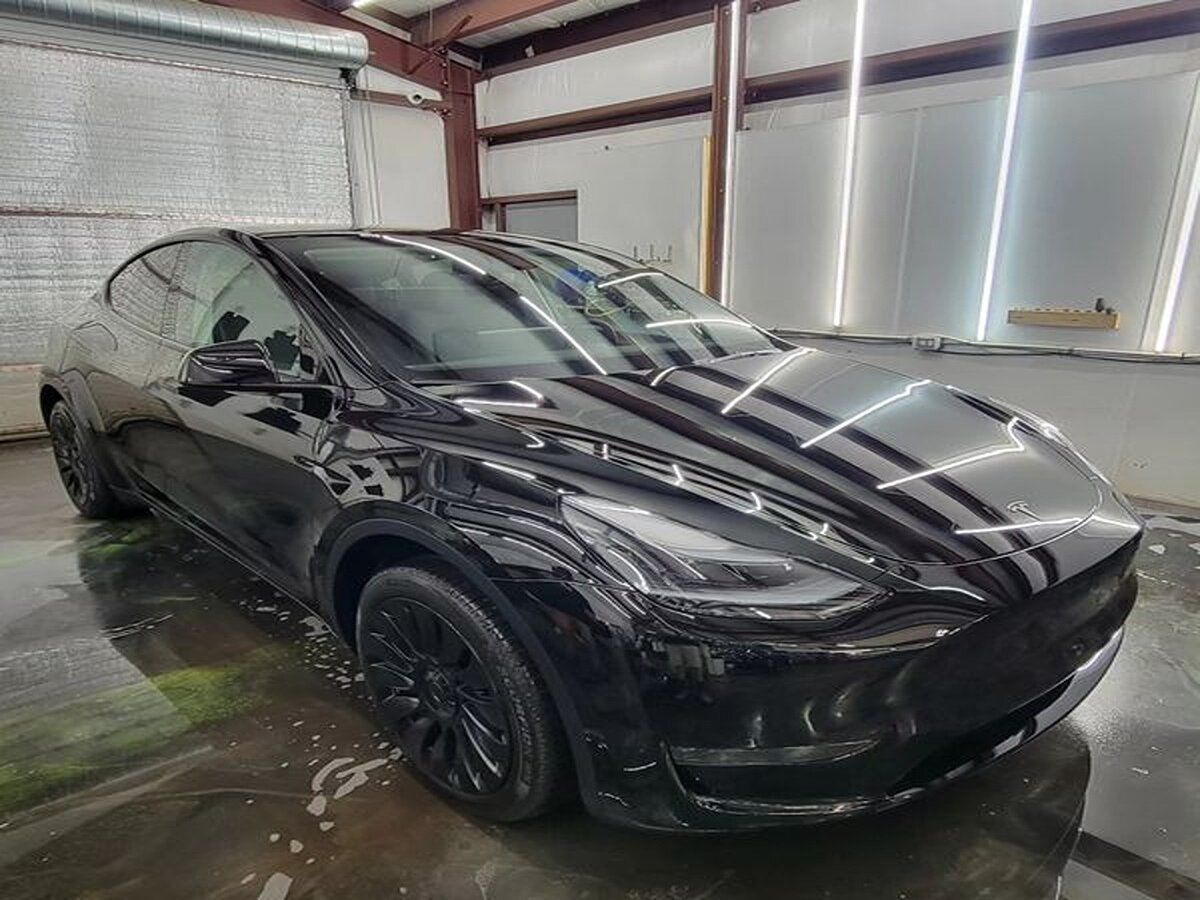
Prepping your car for ceramic coating is not just an essential task; it's the pivotal step that determines whether your vehicle ends up looking immaculate or marred by imperfections. If you're worried about making mistakes that could spoil your car's appearance, you're not alone. Many DIY enthusiasts share this concern, wondering if they have what it takes to get their car ready for a professional-grade coating. Imagine transforming your ride into a stunner at the next weekend car show—it all starts with thorough preparation. Following these carefully outlined steps ensures you don’t just apply the coating, but you do so with precision and confidence. To get started on this journey toward gleaming perfection, first gather your essential tools and materials—this is where our process begins.
Gather Your Coating Kit and Tools
Having everything ready before starting will streamline the process. Start with the Ceramic Coating Kit; this should include the actual ceramic coating solution, applicators—often some type of foam or microfiber pad—and sometimes gloves to protect your hands. These kits are designed to provide all the necessary components that work together for a successful application.
Next, you’ll want to gather wash buckets. Having one bucket for soapy water and another for rinsing can significantly improve your washing process. It prevents contamination; dirt and residue from previous washes could interfere with the coating's adhesion to your vehicle. Cleanliness is key!
Don't forget about microfiber towels. These towels are essential for drying your car and polishing it post-application. It’s best to have multiple towels on hand, as you might need them for different tasks during the preparation.
Essential Tools to Include
- Detailing Clay Bar: It's critical for removing stubborn contaminants that regular washing can miss, such as embedded dirt or tree sap. Allowing these particles to remain can create issues upon applying the ceramic coating.
- Polishing Pads and Machine: Before you apply the ceramic coating, ensuring your car’s paint is in peak condition is vital. A polishing machine can help eliminate minor imperfections that might otherwise be locked under the coating.
- Isopropyl Alcohol (IPA) Solution: This is useful for wiping down surfaces before application to remove any lingering oils, waxes, or dirt that may have escaped your initial cleaning.
Finally, it's advisable to check out high-quality brands. Investing in reliable products pays off in terms of durability and effectiveness of the finish.
With all items gathered, preparation begins with an all-encompassing wash and cleaning; ensuring every inch of your car’s surface is as perfect as possible will set the stage for optimal application results.
Washing and Cleaning Steps
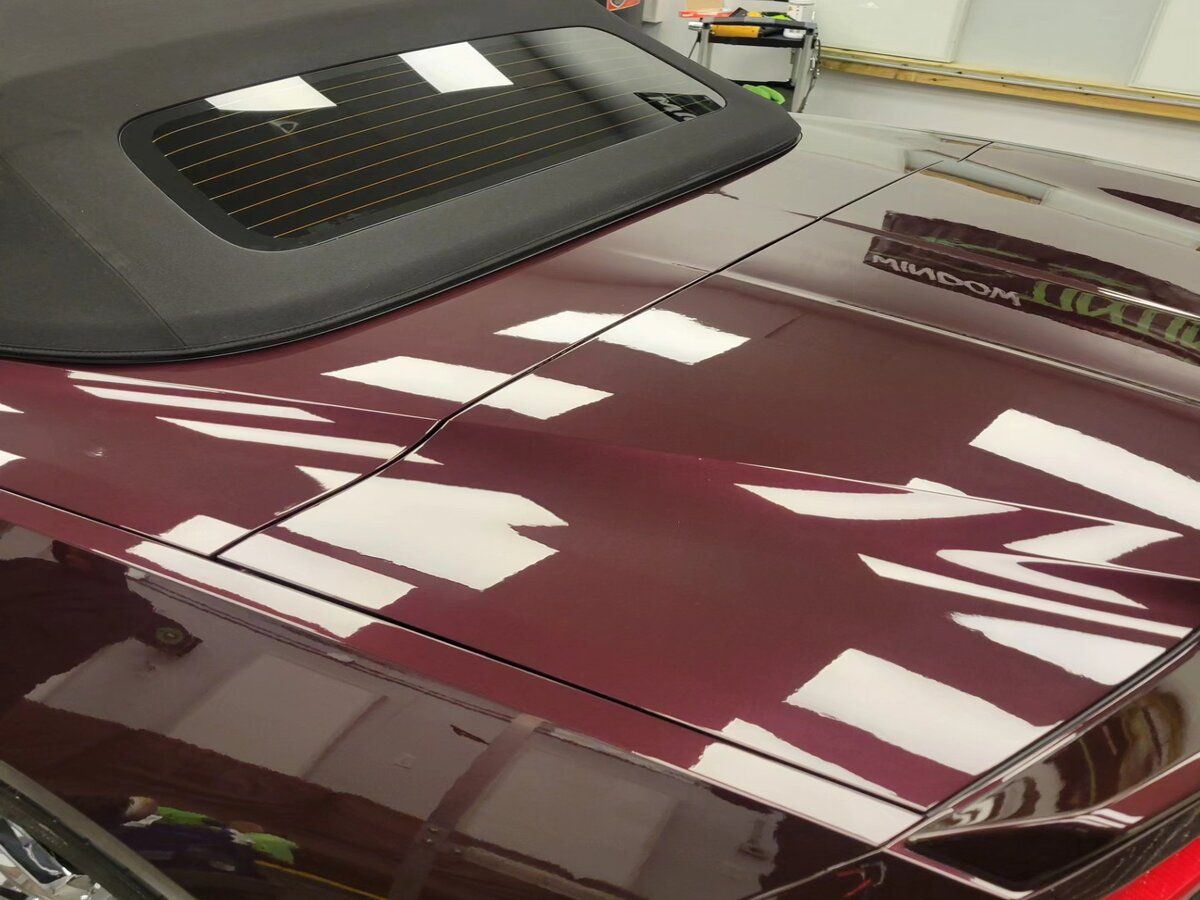
Achieving a spotless base isn’t just about aesthetics; it’s a necessity for the longevity and effectiveness of your ceramic coating. The initial wash is the foundation upon which every subsequent step will be built. It’s essential to start with a thorough wash that targets all areas of your vehicle while using appropriate products to avoid residue buildup. I recommend selecting a wax-free, pH-balanced car shampoo that effectively cleans without leaving behind unwanted materials that could hinder adhesion.
Washing Your Car
Begin with a careful assessment of your car’s condition. Are there visible dirt and grime? If so, it’s time to initiate the washing process. As you get ready, gather your tools: a foam cannon, two buckets, a microfiber wash mitt, and distilled or warm water.
Step-by-Step Washing
Your goal during washing is to loosen and remove any contaminants without damaging the surface. Start by foaming the car; using a foam cannon will help cover the entire exterior with suds that work their magic in breaking down dirt. This initial layer can save you significant scrubbing time later on. The visual aspect of foam is also very satisfying—watching all that dirt dissolve is quite gratifying!
Once you’ve foamed the car, take out the two-bucket method. Fill one bucket with clean, soapy water and another with fresh water for rinsing the wash mitt. This technique not only helps maintain cleanliness but significantly reduces the risk of introducing damage to the paint from trapped debris.
In preparing to rinse, ensure that you’re systematic in how you approach each panel. Rinse thoroughly after soaping up each section of your vehicle, ensuring no soap remains to cause potential stains or streaks once it dries. Leaving soap on can lead to unsightly markings that detract from your vehicle's shine and undermine your entire preparation effort.
Drying Technique
After rinsing, it’s essential to dry your vehicle properly to prevent water spots or streaks from forming. Utilizing microfiber drying towels or an air blower provides an effective solution here; microfiber towels are particularly good as they absorb moisture well and are gentle enough for fine finishes. As you dry, pay attention to crevices and edges where water can accumulate—you want every part of your car prepped perfectly before moving on to contaminant removal.
With a meticulously cleaned and dried vehicle in front of you, we now turn our attention to ensuring all contaminants are eliminated for an optimal surface ready to receive your ceramic protection.
Removing contaminants thoroughly
Not all contaminants are washed away; some cling tightly, almost as if they know their removal is essential before applying that perfect ceramic coating. That’s where claying comes into play, serving as a key step in achieving a flawless finish on your vehicle's surface.
Using a Clay Bar
To start using a clay bar effectively, you'll need to pay attention to a couple of simple yet vital steps. First off, lubrication is necessary for the clay bar to glide smoothly across the car's surface without damaging the paint. Spray a generous amount of clay lubricant onto a section of the vehicle—this keeps the clay from sticking and prevents any unwanted damage.
Next comes the claying motion. Take the clay bar and gently rub it in straight lines across the lubricated area. It's important to be attentive here, folding and kneading the clay often to ensure you're always using a clean section. This technique helps lift away stubborn residues like brake dust or tree sap that regular washing just can't touch.
Benefits of Claying
The benefits of claying are undeniable. Claying lifts away bonded contaminants such as tar, sap, and industrial fallout—elements that simply won’t budge with soap and water. By removing these substances prior to ceramic coating application, you significantly increase the likelihood of a long-lasting bond between the coating and the car's surface.
This step not only enhances the aesthetic beauty of your vehicle but also prepares it for additional treatments that focus on correcting any defects or imperfections in the paint. A pristine surface ensures that a ceramic coating will adhere properly, thereby providing optimal protection against environmental elements and maintaining that showroom shine for longer periods of time. Regular claying acts as an investment in both appearance and durability.
Correcting Paint Imperfections
Even the most meticulously manufactured vehicles can emerge from the dealership with minor imperfections. These blemishes, whether they are tiny hazy spots, can become more pronounced once a ceramic coating is applied. This is why paint correction should never be overlooked; it transforms the surface of your car from ordinary to extraordinary. Imagine applying a dazzling finish only to unveil flaws that were hidden initially—like opening a beautifully wrapped present only to find a less-than-perfect gift inside.
Importance of Paint Correction
The significance of correcting paint imperfections cannot be overstated. Many car enthusiasts have learned this lesson the hard way; one owner reported that after skipping this critical step, the imperfections became painfully visible beneath the ceramic coating. It’s as if the coating amplifies any pre-existing flaws, leaving drivers frustrated and regretting their oversight. Addressing these issues beforehand not only enhances the aesthetics of your vehicle but also ensures better adhesion for the subsequent coating layer.
Step-by-Step Paint Correction
So how do you go about correcting those imperfections?
First, begin with a thorough inspection. Utilizing an LED light will help you spot light damage effectively. This step is vital because identifying all imperfections ensures that you don’t miss anything during the correction process.
Next, choosing the right polish compound is paramount. Selecting a polish suitable for the severity of your imperfections significantly impacts your results.
With your polish at the ready, it's time to start polishing. Use a machine polisher to work in small sections, applying moderate pressure as you move across the surface. It's important to keep a steady pace to ensure even correction while avoiding overheating the paint. Finish each section by wiping away residue with a clean microfiber cloth—this clears debris and allows you to check your progress as you go.
Checking Results
Once you've completed your polishing work, don’t forget this final yet critical step: thoroughly wipe down using an IPA (isopropyl alcohol) solution. This helps remove any remaining oils or residues from the polish application, giving you a clear view of your work before proceeding with the ceramic coating. Ensuring that no remnants compromise the surface will yield optimal results when applying your protective layer.
By carefully following these steps in paint correction, you're setting up your vehicle for long-lasting beauty and durability under its new ceramic coating. The next steps will explain how to apply that protective layer effectively and ensure it adheres perfectly for maximum protection.
Detailed Coating Application
The key to a successful ceramic coating application lies in meticulous attention to detail. Begin by reading the instructions that come with your specific ceramic coating product, as variations exist among brands. Following these will ensure optimal results and save you from costly mistakes down the road.
Applying the Coating
Start by conducting an initial test on an inconspicuous area of your vehicle. This step is crucial; a small patch allows you to check for chemical reactions or unwanted effects that could occur once applied on a larger scale. It is a safeguard measure you won't regret taking.
When you're ready for the application process, work in small sections—think of one panel at a time. Pour a small amount of the coating onto the applicator pad and begin to spread it across the section using a cross-hatch pattern. This method ensures even coverage, helping avoid uneven spots that could compromise the protective layer's efficacy.
After you've worked through the initial application, it’s time for the buffing phase. Allow the coating to sit for a few minutes—typically between one and five minutes, depending on your product—and then grab a clean microfiber towel. Gently buff off any excess product while keeping an eye on your work section; this prevents the coating from curing too soon and becoming difficult to remove.
Now comes the waiting game—curing time. Each product has its own unique requirements, typically advising a cure period of about 24-48 hours. During this phase, it is vital to keep your vehicle dry and out of direct sunlight. Your ceramic coating needs this time to bond effectively with the surface; any disturbance may hinder its performance.
With that process complete, you'll want to pay diligent attention to inspecting and touching up any missed areas before fully enjoying your vehicle's newly protected shine.
Final Inspection and Touch-Up
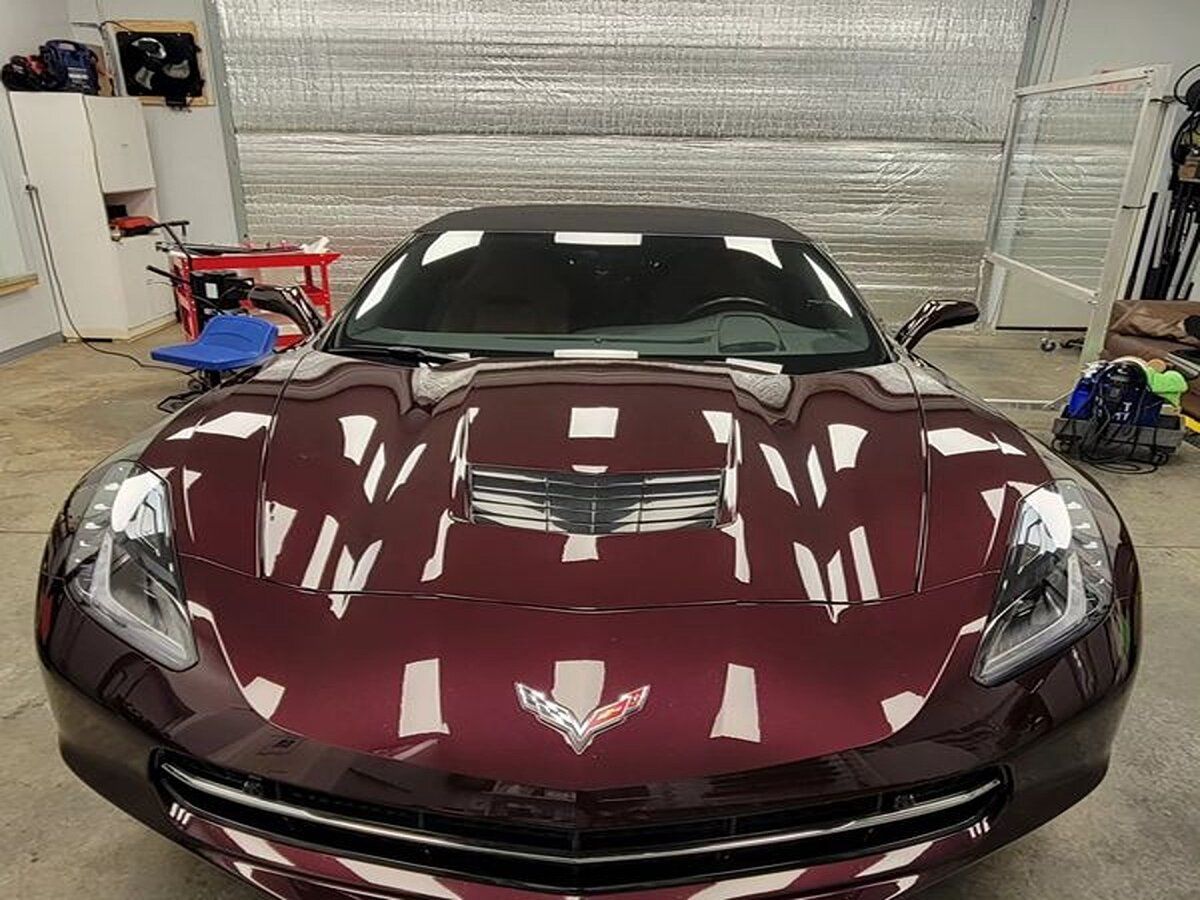
A meticulous final check guarantees that the entire application of the ceramic coating has been successful, ensuring not only an impressive appearance but also optimal protection for your vehicle. This step may seem minor, but investing time here pays dividends in how long the coating lasts and how well it performs over time.
Inspection Process
Start with a visual check. Under good lighting—preferably natural light if possible—inspect every visible part of the car closely. Look for any missed spots or areas where the coating appears uneven; these could potentially lead to weak points in the protective layer. It’s crucial to do this carefully because even small inconsistencies can allow dirt and contaminants to penetrate the surface.
Next comes the feel test, which is just as important. Gently run your fingers over the coated surfaces. By doing this, you’re checking for variations in texture. If any area feels rough or has a gritty texture, those are indicators that additional work may be necessary.
If you find any imperfections or spots where the application may have been uneven, it's time to correct those missed areas. Carefully reapply the ceramic coating in sections, using just enough product to cover the affected areas. Then use a soft microfiber cloth to buff it in smoothly, ensuring no buildup or unsightly marks when it cures.
Long-term Maintenance Tips
Beyond ensuring a solid initial coating, regular maintenance is vital for preserving that glossy look and functionality. It’s best to wash your car regularly using pH-neutral shampoos. These gentle products remove dirt without stripping away the ceramic coating’s advantages.
Your efforts in preparation and ongoing maintenance will ensure your vehicle looks stunning while receiving top-notch protection against elements for a long time.
Why Choose ShineCo for Ceramic Coating?
Applying ceramic coating is a delicate process that requires skill and precision. At ShineCo, our technicians are highly trained and experienced in
ceramic coating applications, ensuring flawless results every time. We carefully prep your vehicle, including washing, decontaminating, and polishing the surface, to ensure the coating adheres perfectly and offers the best protection possible. We use only premium-grade ceramic coatings, selected for their durability and performance. Whether you're looking for added gloss and enhanced hydrophobic properties, we offer a range of options to suit your vehicle's needs. Book now!
Clean-Correct-Refine-Protect
ShineCo is Spartanburg, South Carolina’s leader in keeping automobiles clean, protected, and refining them in a way unattainable anywhere else! For over a decade, our team has honed our craft of auto detailing and leveraged it in a way that helps restore and preserve paintwork and other vehicle surfaces. Installing industry-leading formulas like SB3 Ceramic Coatings along with applying Paint Protection Film packages for self-healing durability on your automobile, all areas of automotive detailing are covered under one roof.
Our Location
3301 Reidville Rd, Spartanburg, SC 29301, United States of America
Hours of Operation
Monday - Thursday: 8:00 AM - 5:00 PM
Friday: 8:00 AM - 4:00 PM
Saturday - Sunday: Closed
Designed by the team at Detailers Roadmap, a platform developed for detailing operators across the globe.
All Rights Reserved | 8bitcreative, LLC | ShineCo

